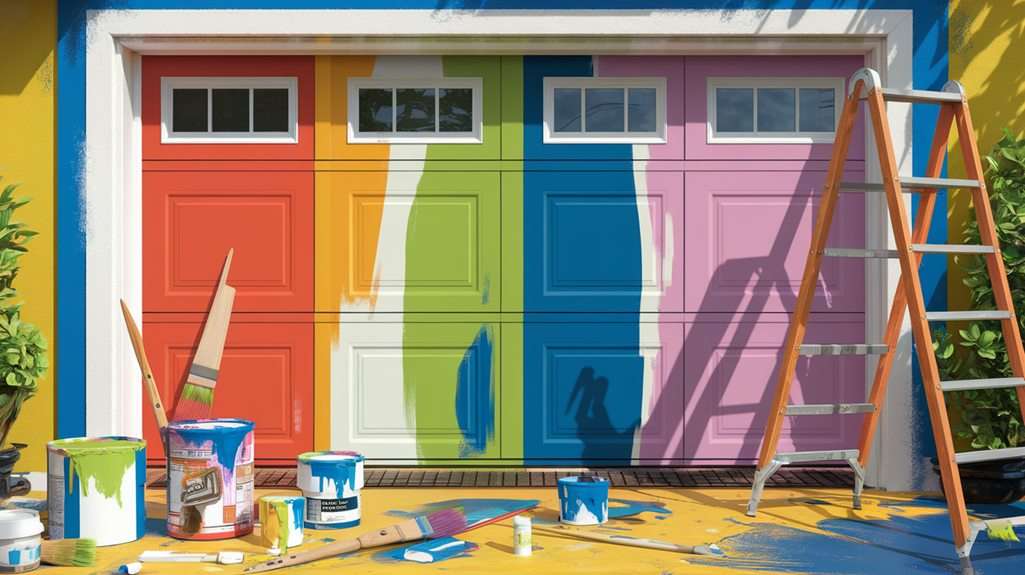
Did you know that a fresh coat of paint on your garage door can increase your home's curb appeal by up to 20%? If you're looking to enhance your home's exterior without breaking the bank, painting your garage door is a smart, DIY project worth considering. You'll need to gather the right materials and follow some essential steps to ensure a professional finish. But how do you choose the perfect color and paint type to match your home's style? Let's explore the process to get you started on this rewarding task.
Key Takeaways
- Choose high-quality exterior paint and primer suitable for your garage door's material and desired finish for optimal adhesion and longevity.
- Prepare the surface by removing old paint, cleaning, and repairing any damage to ensure a smooth, even application.
- Apply at least two coats of paint, ensuring proper drying time between each coat for even coverage and a durable finish.
- Enhance the appearance with finishing touches like trim, accents, and updated hardware, and consider a clear protective coat for added durability.
- Maintain your painted garage door by cleaning regularly, inspecting for damage, and reapplying protective sealant every couple of years.
Gather Your Materials
Before you dive into painting your garage door, you need to gather your materials. Start with a high-quality exterior paint that's suitable for your garage door's material, whether it's wood, metal, or fiberglass. Make sure to choose a color that complements your home's exterior. If you're unsure about the best paint for your garage door, consult with the experts at Supreme Garage Door for personalized recommendations on paint selection.
Next, grab a primer if your door requires it; this will help the paint adhere better and provide a more vibrant finish.
You'll also need some essential tools. A paintbrush and a roller will help you cover large areas efficiently. Don't forget a paint tray for easy access to your paint while you work. For hard-to-reach spots, a smaller brush will do the trick. Additionally, have some sandpaper, rags, and painter's tape on hand for prepping the surface and protecting adjacent areas.
Prepare the Garage Door
Before you start painting your garage door, you need to prepare it properly.
Remove any old paint, clean the surface thoroughly, and repair any damaged areas to ensure a smooth finish.
Taking these steps will help your new paint job last longer and look great.
Remove Old Paint
Removing old paint is a crucial step in preparing your garage door for a fresh coat. Start by inspecting the door for any peeling, flaking, or chipping paint. You'll want to tackle these areas first, as they can prevent the new paint from adhering properly. Use a paint scraper or putty knife to gently remove the loose paint. Be careful not to damage the underlying surface.
For stubborn paint, consider using a heat gun or a chemical paint stripper. If you choose a heat gun, keep it moving to avoid scorching the wood or metal beneath. If you opt for a chemical stripper, follow the manufacturer's instructions and wear appropriate safety gear, including gloves and goggles.
Once you've removed the bulk of the old paint, sand the surface with medium-grit sandpaper to smooth rough edges and ensure a uniform surface. Pay attention to corners and crevices where paint might linger.
After sanding, wipe the door down with a damp cloth to remove dust and debris. This step is essential for a clean surface, setting you up for a successful paint application in the next phase.
Clean the Surface
After you've successfully removed the old paint, it's time to clean the surface of your garage door thoroughly. This step is crucial for ensuring your new paint adheres properly and looks great.
Start by using a hose or pressure washer to remove any loose dirt, dust, or debris. Make sure to pay special attention to crevices and corners where grime can accumulate.
Next, mix a solution of mild detergent and water in a bucket. Using a soft-bristle brush or sponge, scrub the door to eliminate any remaining dirt or grease. This will help the paint adhere better.
If you notice any mold or mildew, add a cup of bleach to the solution and scrub those areas carefully.
Rinse the door thoroughly with clean water to remove any soap or bleach residue. After rinsing, let the surface dry completely before moving on to the next step. Make sure there's no moisture left, as it can affect paint application.
Repair Damaged Areas
Inspecting your garage door for any damaged areas is essential to ensure a smooth and lasting paint application. Before you start painting, take the time to repair any imperfections. This step not only enhances the door's appearance but also helps the paint adhere better. Here's how you can effectively repair damaged areas:
- Identify Damage: Look for dents, scratches, or rust spots. Mark these areas for easy reference.
- Clean the Area: Remove any dirt, grease, or loose paint around the damaged spots using a wire brush or sandpaper. This prepares the surface for repairs.
- Fill Holes and Dents: For small holes and dents, use a filler suitable for your garage door material. Apply the filler, smooth it out, and let it dry completely.
- Sand Smooth: Once the filler is dry, sand it down to create a smooth surface, blending it with the surrounding area. This ensures an even finish when you paint.
Select the Right Paint
How do you choose the best paint for your garage door? First, consider the material of your door—wood, metal, or fiberglass—since each requires specific paint types. For metal doors, look for rust-inhibiting exterior paints, while wood doors benefit from weather-resistant paints that enhance durability.
Next, think about the finish. If you prefer a glossy look, high-gloss paints are great for reflecting light and resisting dirt. For a more subtle appearance, satin or eggshell finishes can add elegance while still being easy to clean.
Don't forget about color! Choose a shade that complements your home's exterior, but also remember that lighter colors may reflect heat and help keep the garage cooler.
Lastly, check for paint labels indicating UV resistance and mildew resistance, especially if your garage door gets a lot of sunlight. When you select the right paint, you're not just focusing on aesthetics; you're also prioritizing longevity and protection. So, take your time to research and find a product that meets your needs for a beautiful and long-lasting finish.
Apply Primer and Paint
Now that you've chosen the right paint, it's time to apply primer and paint for a flawless finish.
Start by selecting a primer that suits your garage door material, ensuring better adhesion and durability.
Once the primer is dry, you can confidently paint your door with the color you've picked.
Choose the Right Primer
When it comes to painting your garage door, selecting the right primer is crucial for achieving a long-lasting finish. A good primer helps the paint adhere better and protects the surface from moisture and rust.
Here are four key factors to consider when choosing a primer:
- Material Compatibility: Ensure the primer is suitable for the material of your garage door, whether it's metal, wood, or fiberglass. Different materials require different types of primer.
- Weather Resistance: Look for a primer that offers weather resistance, especially if your garage door is exposed to harsh elements. This will help prevent peeling and fading over time.
- Drying Time: Check the drying time of the primer. You want something that dries quickly so you can move on to painting without a long wait.
- Application Method: Consider how you plan to apply the primer. Some primers work better with brushes, while others are designed for spray application. Choose one that fits your preferred method for ease of use.
Select Appropriate Paint
Choosing the right paint for your garage door can make all the difference in achieving a vibrant and durable finish. Look for high-quality exterior paint specifically designed for metal surfaces, as it'll withstand the elements better than standard indoor paint. Acrylic latex paints are a great option since they offer excellent adhesion, flexibility, and resistance to fading.
Before you start painting, ensure you have the right tools: a paint roller, brush, and a paint tray. A roller can cover large areas quickly, while a brush is perfect for corners and edges.
Don't skip the primer step if you're painting a bare door or a previously painted surface. Once your primer has dried completely, it's time to apply your chosen paint.
Start from the top and work your way down to avoid drips. Apply at least two coats for optimal coverage, allowing sufficient drying time between each coat.
Finishing Touches
Typically, the finishing touches on your garage door can make a significant difference in its overall appearance. Once you've applied the paint, it's time to enhance the look and ensure everything is perfect. Here are some steps to complete your project:
- Remove Excess Paint: Check for any drips or uneven areas. Use a fine-grit sandpaper to smooth out imperfections and wipe away dust with a damp cloth.
- Add Hardware: Consider updating or painting your garage door hardware, like handles and hinges. Fresh, matching hardware can elevate the door's aesthetic.
- Seal the Edges: If you haven't already, apply a clear sealant around the edges of the door. This not only protects your paint job but also gives a polished finish.
- Clean Up: Ensure the surrounding area is tidy. Remove any paint splatters from the floor or driveway to create a clean look.
Maintenance Tips
Maintaining your newly painted garage door is crucial for preserving its appearance and functionality. Regular upkeep can prevent wear and tear, allowing your door to look fresh for years. Here are some essential maintenance tips you should follow:
- Clean Regularly: Use a mild detergent and soft cloth to wipe down your door every few months. This helps remove dirt and debris that can dull the finish.
- Inspect for Damage: Check for chips, cracks, or rust. Address these issues promptly to prevent further damage.
- Reapply Sealant: Depending on your climate, consider reapplying a protective sealant every couple of years to maintain the paint's integrity.
- Lubricate Moving Parts: Ensure that the hinges and tracks are lubricated to prevent squeaking and ensure smooth operation.
- Avoid Harsh Chemicals: Steer clear of abrasive cleaners and solvents, as they can damage the paint.
| Maintenance Task | Frequency | Notes |
|---|---|---|
| Cleaning | Every 3 months | Use mild detergent |
| Damage Inspection | Monthly | Look for chips/rust |
| Sealant Application | Every 2 years | Protects paint finish |
| Lubrication | Every 6 months | Use a silicone spray |
| Chemical Avoidance | As needed | Prevents paint damage |