
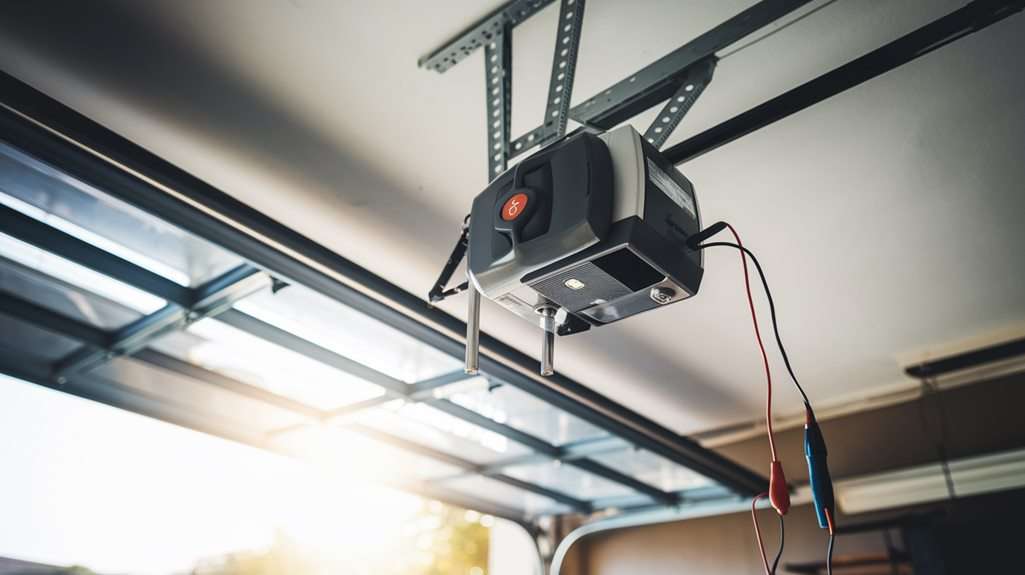
When you notice your garage door isn't responding as it should, adjusting its sensitivity might be the solution. You'll want to identify the adjustment screws on your opener's control panel, which can be simpler than you think. By tweaking these settings, you can enhance the door's performance, ensuring it opens and closes smoothly without unnecessary stops. However, before you start, it's crucial to understand the implications of these adjustments on safety and functionality. What steps should you take to ensure everything works as it should?
Key Takeaways
- Locate the sensitivity adjustment screws on your garage door opener, typically found on the control panel or motor unit.
- Adjust the up sensitivity to ensure the door stops or reverses appropriately when encountering resistance.
- Set the down force adjustment to control how much pressure the door exerts before reversing upon obstruction.
- Test the garage door after each adjustment to confirm proper functionality and responsiveness to obstacles.
- Regularly check and maintain the sensors, tracks, and rollers to prevent unexpected door reversals and ensure smooth operation.
Understanding Garage Door Sensitivity
When it comes to garage door openers, understanding sensitivity is crucial for safety and functionality. Sensitivity refers to how your garage door opener detects obstacles while closing or opening. If the sensitivity is set too high, it mightn't detect an object, leading to potential accidents or damage. Conversely, if it's set too low, the door might reverse unnecessarily, causing frustration. Proper adjustment of the sensitivity can extend the lifespan of the garage door system and ensure smooth functionality, making it an essential aspect of maintenance routines.
You'll want to familiarize yourself with the opener's settings. Most models have adjustable sensitivity controls that allow you to customize how the door responds to resistance. This means you can fine-tune it to ensure that it stops or reverses if it encounters something in its path.
It's essential to regularly check the door's sensitivity, especially if you've noticed unusual behavior. A properly adjusted opener not only enhances safety but also prolongs the life of the door and its components.
Tools You Will Need
To adjust your garage door opener's sensitivity effectively, you'll need a few essential tools.
First, grab a flathead screwdriver; this will help you access the adjustment screws on your opener. You may also want a Phillips screwdriver, as some models require this for different screws.
A ladder can be useful if your opener is mounted high, allowing you to reach the adjustment points with ease. Additionally, having the right tools from Supreme Garage Doors ensures a smooth adjustment process.
Next, have a tape measure handy. This will help you check the door's travel distance and ensure it operates smoothly without obstruction.
A level can also come in handy to ensure your garage door is properly aligned, which can affect the sensitivity settings.
Lastly, consider having a flashlight available. It's essential for illuminating dark spaces, especially if you're working in a dimly lit garage.
With these tools in hand, you'll be well-equipped to make the necessary adjustments to your garage door opener's sensitivity, ensuring it operates safely and efficiently. Remember, having the right tools makes the process smoother and helps you achieve the desired results quickly.
Safety Precautions to Consider
Adjusting your garage door opener's sensitivity requires careful attention to safety. Before you start, make sure to disconnect the power supply to avoid any accidental activation. It's crucial to have a clear workspace; remove any obstacles near the door that might interfere with its operation.
Always keep children and pets at a safe distance while working on the garage door. They may not understand the risks involved, so consider setting up a barrier if necessary. When you're testing the sensitivity, never place your hands or any body parts in the path of the moving door.
If your garage door has a manual release, familiarize yourself with it in case of an emergency.
It's also wise to wear safety goggles and gloves to protect yourself from potential injuries or debris.
Locating the Sensitivity Settings
Many garage door openers come equipped with sensitivity settings that are easy to locate. To find these settings, you'll typically need to look for a few key areas on your garage door opener unit. Here's where you should start:
- Control Panel: Check the buttons or knobs on the control panel. Many models have dedicated buttons for adjusting sensitivity.
- User Manual: Your user manual will provide specific instructions on where to find the sensitivity settings. If you can't find the manual, consider searching for it online using your opener's model number.
- Adjustment Screws: Some openers feature physical screws that can be turned to adjust sensitivity. These are often located on the back or side of the unit.
When locating the sensitivity settings, it's important to understand the impact they've on your garage door's operation. Proper adjustment can ensure smooth and safe functionality, aligning with the goal of restoring smooth operation and functionality of garage door systems.
After making adjustments, testing the door is crucial to confirm its proper and safe operation.
Adjusting the Up Sensitivity
When adjusting the up sensitivity of your garage door opener, it's crucial to understand the safety features involved. These mechanisms help prevent accidents by ensuring the door stops or reverses when it encounters an obstacle.
Let's walk through a step-by-step guide to make these adjustments safely and effectively.
Safety Features Overview
Understanding the sensitivity of your garage door opener is crucial for ensuring safety during operation. The up sensitivity setting determines how much resistance the door must encounter before it stops and reverses its motion. Proper adjustment of this feature is vital to prevent accidents and injuries, especially if someone—or something—gets caught under the door.
Here are some key safety features related to adjusting the up sensitivity:
- Obstacle Detection: Your garage door opener should be equipped with sensors that detect objects in its path. If the door encounters any obstruction, it should automatically reverse direction.
- Force Settings: In addition to sensitivity, many openers allow you to adjust the force at which the door operates. Ensuring this is set correctly can help prevent the door from slamming shut.
- Regular Testing: It's essential to regularly test the sensitivity and sensors. This helps ensure they're functioning properly and provides peace of mind that your garage door will operate safely.
Step-by-Step Adjustment Guide
Next, use a screwdriver to turn the "up" sensitivity screw. If the door stops too soon when opening, turn the screw counterclockwise to increase sensitivity. If it continues to rise too high or hits the ceiling, turn it clockwise to decrease sensitivity. Make small adjustments, about a quarter turn, and test the door after each change.
Close the door completely and then use the remote or wall switch to open it. Observe how the door behaves. If it opens smoothly and stops at the desired height, you've got it right. If not, repeat the adjustment process until you achieve the desired performance.
Adjusting the Down Sensitivity
Now that you've adjusted the up sensitivity, it's time to focus on the down sensitivity. Understanding how these settings work is crucial for your garage door's safe operation.
Understanding Sensitivity Settings
Adjusting the down sensitivity of your garage door opener is crucial for ensuring safe and reliable operation. This setting determines how much resistance the door needs to encounter before it stops moving downward. If the sensitivity is too low, the door mightn't stop when it should, potentially causing damage or injury. Conversely, if it's too high, the door may reverse unexpectedly.
Here are a few key points to understand about down sensitivity settings:
- Safety: Proper sensitivity helps prevent the door from closing on objects or people, reducing the risk of accidents.
- Performance: A well-adjusted sensitivity ensures the door operates smoothly, without unnecessary stops or reversals.
- Maintenance: Regularly checking and adjusting the down sensitivity can help prolong the life of your garage door opener.
Adjusting Down Force
Understanding how to adjust down sensitivity is important, but it's equally vital to set the down force correctly on your garage door opener. The down force determines how much resistance the door can handle before it reverses, ensuring safety and proper functionality. If the down force is too high, your door might crush objects or pose a hazard. If it's too low, the door may not close completely.
To adjust the down force, locate the adjustment screws on your opener. Usually, you'll find these on the back or side of the motor unit. Turn the screw clockwise to increase the down force and counterclockwise to decrease it. Test the door after each adjustment to find the right balance.
Here's a quick reference table for adjusting down force:
| Adjustment Type | Recommended Action |
|---|---|
| Too High | Decrease force slightly |
| Too Low | Increase force slightly |
| Door Reverses | Increase down force |
| Door Won't Close | Decrease down force |
Testing the Garage Door
Testing your garage door is a crucial step in ensuring its safety and functionality. After adjusting the sensitivity settings, you need to perform a few tests. This will help you confirm that the door responds appropriately to your adjustments and operates smoothly.
Here's how to test your garage door effectively:
- Close the Door: Use your remote or wall button to close the door and observe its movement. It should close without hesitation or excessive force.
- Test the Reverse Mechanism: Place a small object, like a piece of wood, in the door's path. When the door touches the object, it should reverse immediately. This ensures the safety feature is working properly.
- Check for Obstructions: Make sure the tracks, rollers, and sensors are clear of debris or any obstructions. This allows for smooth operation and prevents damage to the door.
After conducting these tests, if everything works smoothly, your garage door is safe and functional. If you notice any irregularities, it's best to revisit your sensitivity settings or consult a professional for further assistance.
Common Issues and Solutions
Even with proper sensitivity adjustments and thorough testing, garage doors can still encounter issues that affect their performance. It's crucial to recognize these problems and address them promptly. Here are some common issues you might face:
| Issue | Solution |
|---|---|
| Door doesn't open/close | Check power supply and remote batteries. Ensure the safety sensors are aligned. |
| Door reverses unexpectedly | Clean the sensor lenses and check for obstructions. Adjust the sensitivity settings if needed. |
| Door makes unusual noises | Inspect the rollers and tracks for damage. Lubricate moving parts to reduce friction. |
| Remote control malfunctions | Replace the batteries or reprogram the remote. Ensure you're within range and there's no interference. |