
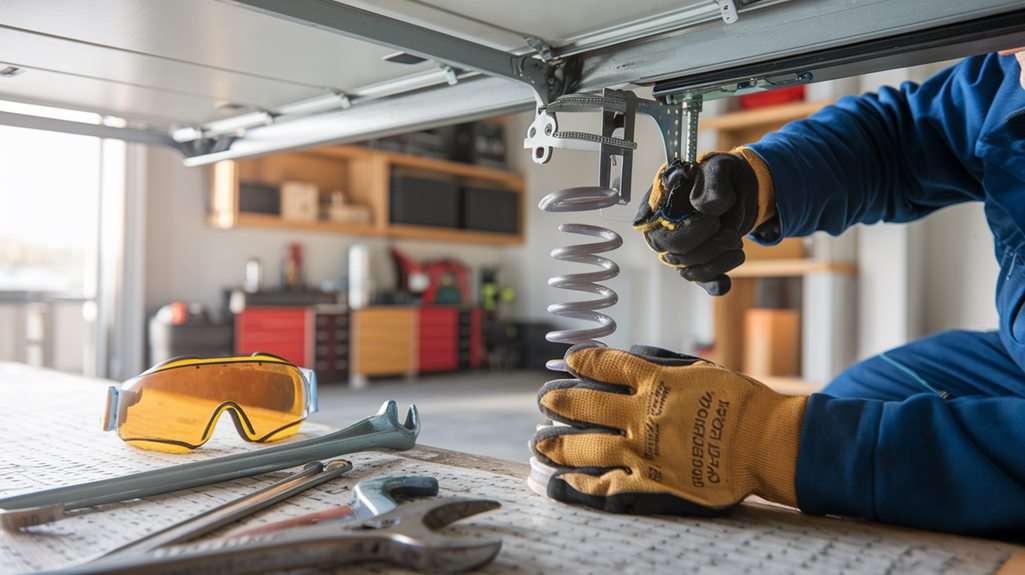
It's funny how a broken garage door spring can happen just when you're in a rush. You might be tempted to tackle the repair on your own, but safety should always come first. There are critical steps you need to follow to ensure you don't end up with a more significant problem. From the right protective gear to the tools necessary for the job, each detail plays a vital role. So, how do you safely navigate this process while minimizing risks? Let's explore the essential steps to get your garage door back in working order.
Key Takeaways
- Always wear protective gear like safety glasses and gloves to prevent injuries during the replacement process.
- Disconnect the power source to avoid accidental door movements while working on the springs.
- Use the appropriate tools, including a ladder, socket wrench, pliers, and winding bar, for safe and effective spring replacement.
- Carefully loosen the bolts on the broken spring and slide it off before installing the new spring correctly.
- After installation, test the garage door manually and with the opener, checking for unusual sounds or safety feature functionality.
Understanding Garage Door Springs
Garage door springs are crucial components that help lift and lower your garage door smoothly. They come in two main types: torsion springs and extension springs. Torsion springs are mounted horizontally above the door, while extension springs are situated on both sides, stretching as the door opens. Understanding how these springs work is key to tackling any issues that arise.
When you open your garage door, the springs store energy and assist in lifting the door's weight. This balance ensures that the door moves effortlessly. If one of these springs breaks, you might notice your door becoming heavy or difficult to operate. It's important to identify which type of spring your garage uses because the replacement process differs.
You should also be aware that springs are under significant tension, which means they can be dangerous if mishandled. Regularly inspecting your springs for signs of wear, such as rust or gaps, can help you catch potential problems early.
Safety Precautions to Take
Before you start replacing that broken garage door spring, it's crucial to prioritize your safety.
Make sure you wear protective gear like gloves and safety glasses to shield yourself from potential injuries.
Also, don't forget to disconnect the power source to prevent any accidental movements while you work.
Wear Protective Gear
Wearing the right protective gear is essential when replacing a broken garage door spring. This task can be dangerous, and you need to shield yourself from potential injuries. Here's a quick guide to the necessary gear:
| Protective Gear | Purpose |
|---|---|
| Safety Glasses | Protects your eyes from debris and metal shards. |
| Heavy-Duty Gloves | Shields your hands from sharp edges and provides grip. |
| Steel-Toed Boots | Protects your feet from heavy tools or falling parts. |
Before you start, make sure your gear fits well and is in good condition. A snug fit ensures your gloves won't slip while you're handling tools, and sturdy boots prevent injuries from dropped items. Safety glasses should be free of scratches to maintain visibility.
Taking these precautions isn't just about comfort; it's about ensuring your safety throughout the process. Don't skip this step. Proper gear can make a significant difference in preventing accidents and injuries, allowing you to focus on the task at hand. Remember, safety first means a job well done without unnecessary risks.
Disconnect Power Source
One crucial step in replacing a broken garage door spring is disconnecting the power source. Before you start any work, ensure that the garage door opener is unplugged from the electrical outlet. This simple action helps prevent accidental activation of the door while you're working, which could lead to serious injury.
If your garage door system is hardwired, turn off the circuit breaker that supplies power to the garage. Make sure to label the breaker if you have multiple circuits, so no one accidentally turns it back on while you're in the middle of your repair.
It's also wise to inform anyone in your household that you'll be working on the garage door, so they don't try to use it while you're replacing the spring.
Once the power source is disconnected, double-check that everything is secure. This precaution not only protects you but also ensures that no unexpected movements occur during your repair. By taking these steps, you're setting yourself up for a safer and more efficient replacement process. Always prioritize safety—it's essential in any DIY project.
Tools Needed for Replacement
To replace a broken garage door spring, you'll need a few essential tools to get the job done safely and effectively. Make sure you've got the right equipment on hand, including safety gear to protect yourself during the process.
Let's go over what you'll need to tackle this repair.
Essential Tools Overview
When tackling the replacement of a broken garage door spring, having the right tools is crucial for a safe and efficient process. First, you'll need a sturdy ladder to reach the garage door mechanism safely. Make sure it's stable and tall enough for your needs.
Next, gather essential hand tools, including a socket wrench set. You'll specifically want a 7/16-inch socket for the bolts on the spring. A pair of pliers will also come in handy for gripping and twisting wires. Don't forget a winding bar; this tool is vital for winding and unwinding the torsion spring safely.
You'll also need a hammer to help with any stubborn parts, and a measuring tape to ensure the new spring matches the old one's specifications. Having a screwdriver set on hand is beneficial for any minor adjustments that might arise during the process.
Lastly, consider a durable workbench or a flat surface for organizing your tools and components. With these essential tools ready, you'll be well-prepared to tackle the task efficiently and effectively.
Safety Equipment Required
Before you start replacing the broken garage door spring, it's important to prioritize your safety. Using the right safety equipment can prevent injuries and ensure a smooth replacement process. Here's a list of essential tools and gear you'll need:
| Safety Equipment | Purpose |
|---|---|
| Safety Glasses | Protects your eyes from flying debris |
| Work Gloves | Shields your hands from sharp edges |
| Steel-Toed Boots | Guards your feet from heavy equipment |
| Wrenches and Pliers | Allows you to handle springs safely |
| Ladder | Provides stable access to the garage door |
Make sure to wear safety glasses to shield your eyes from any unexpected accidents. Work gloves are a must to protect your hands while handling the springs, which can be sharp or heavy. Steel-toed boots will safeguard your feet if anything falls. Use wrenches and pliers to safely grasp and release the tension in the springs. Finally, utilize a sturdy ladder to reach the garage door while maintaining balance. By equipping yourself with this safety gear, you'll be better prepared to tackle the task at hand.
Steps to Remove the Broken Spring
Removing a broken garage door spring can seem daunting, but with the right approach, you can tackle it efficiently. Start by ensuring your safety gear is on—gloves and safety goggles are a must. Next, disconnect the power to your garage door opener to prevent any accidental movements.
Now, use a socket wrench to loosen the bolts on the end plate that holds the spring in place. This can take some muscle, so don't hesitate to apply some force when needed. Once the bolts are loosened, carefully slide the spring off the shaft.
If you're dealing with a torsion spring, you'll need to unwind it slowly. Use a winding bar to do this—never use your hands.
After unwinding, remove the spring from the bracket. If you encounter any resistance, double-check that all bolts and screws are fully loosened.
Installing the New Garage Door Spring
With the old spring removed, you can now focus on installing the new garage door spring. Start by grabbing your new spring and laying it out to ensure it's the correct size and type.
Next, position the spring on the garage door bracket, aligning it with the holes. Insert the winding cone into the end of the spring and secure it with a set screw. Make sure it's tight to prevent any slippage during operation.
Now, you'll need to wind the spring. Use a winding bar to carefully turn the spring clockwise, following the manufacturer's specifications for the number of turns. This step is crucial, as the tension in the spring is what helps lift the door.
Once you've wound the spring enough, insert the other end into the bracket, securing it with the appropriate hardware.
Before you finish up, double-check all connections and ensure everything is secure. It's vital to make sure the spring is properly installed to avoid future issues. Once you're satisfied with the installation, you can move on to the next steps to ensure everything functions safely.
Testing the Garage Door Functionality
Now that you've installed the new garage door spring, it's time to test the functionality of the door. This step is crucial to ensure everything operates smoothly and safely. Start by checking the door's balance and operation. Here's how you can do it effectively:
- Open the Door Manually: Disconnect the opener and lift the door halfway. It should stay in place without dropping or rising. If it doesn't, you might need to adjust the spring tension.
- Test the Automatic Opener: Reconnect the opener and press the button to open and close the door. Observe if it moves smoothly without any jerks or unusual noises.
- Listen for Strange Sounds: As the door operates, pay attention to any grinding or squeaking noises. These could indicate misalignment or a problem with the springs.
- Check Safety Features: Test the safety sensors by placing an object in the door's path. The door should reverse immediately upon contact.
After these tests, if everything functions well, you can feel confident in your work. If not, consider seeking professional assistance.